Here are a few tips that you should consider before under taking this.
First, use varying textures to make it interesting. Just because it's dirt does not mean that it has to be boring. On this project I used builders sand, craft sand (very fine sand that you can get at Michael's or Hobby Lobby), and GW bases sand (which has multiple particle sizes). I covered the whole base in builders sand and then applied the other two in random patches. Make sure to cover the texture in watered down PVA to help keep it in place.
Second, make sure to use an appropriately sized brush. If the brush is too big it you won't have the control you need to get at all of the details, you will essentially bury the texture under a thick layer of paint. Too small and it will take forever to finish the piece. Since this is a medium sized piece I'm using a #12 flat hogs hair brush.
Third, just because you are dry brushing doesn't mean you can rush it. You still need to build up the colors slowly as you can always add more but short of starting over you can not "remove" paint. For each color I usually go over the piece 3 separate times to build up the color. This also adds a little depth as some areas get more color and others get less. As you progress to the lighter color decrease the amount of paint loaded on the brush and use a lighter dry brush.
Finally, choose the right colors. I try to limit terrain to 3 colors when dry brushing. Because of this you need to get some bang for you buck and pick colors that not only complement each other, but have enough separation (lighter) that you can quickly achieve the desired color. For this terrain I'm using Delta Ceramcoat Golden Brown, Spice Tan and AC Flesh (in that order) over a coat of Krylon Boot Brown spray paint.

Krylon Boot Brown Spray Base Coat

Golden Brown Dry brush

Spice Tan Dry brush

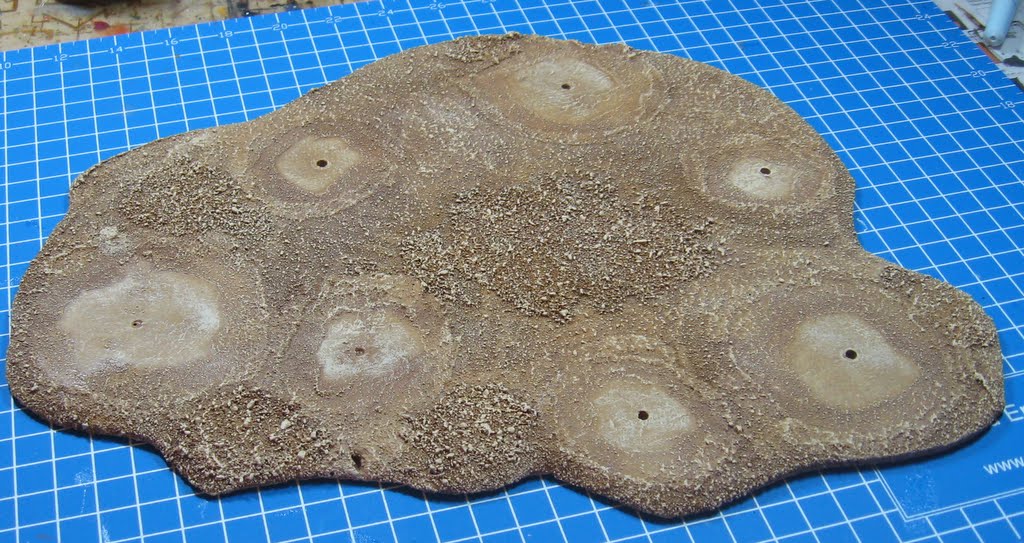
AC Flesh Dry brush
Tomorrow I will wrap this up by finishing the tree bases, applying a matte varnish and then add some plant life.
No comments:
Post a Comment